
How to Photograph Skin for a Dermatologist: The Five Steps, and the Three Shots
How to photograph skin for a dermatologist: filters off, light on the area and not behind you, and three shots rather than one. The published procedure.
Iris Vance writes as a researcher, not a dermatologist or licensed esthetician. Nothing here diagnoses or treats. How we work.
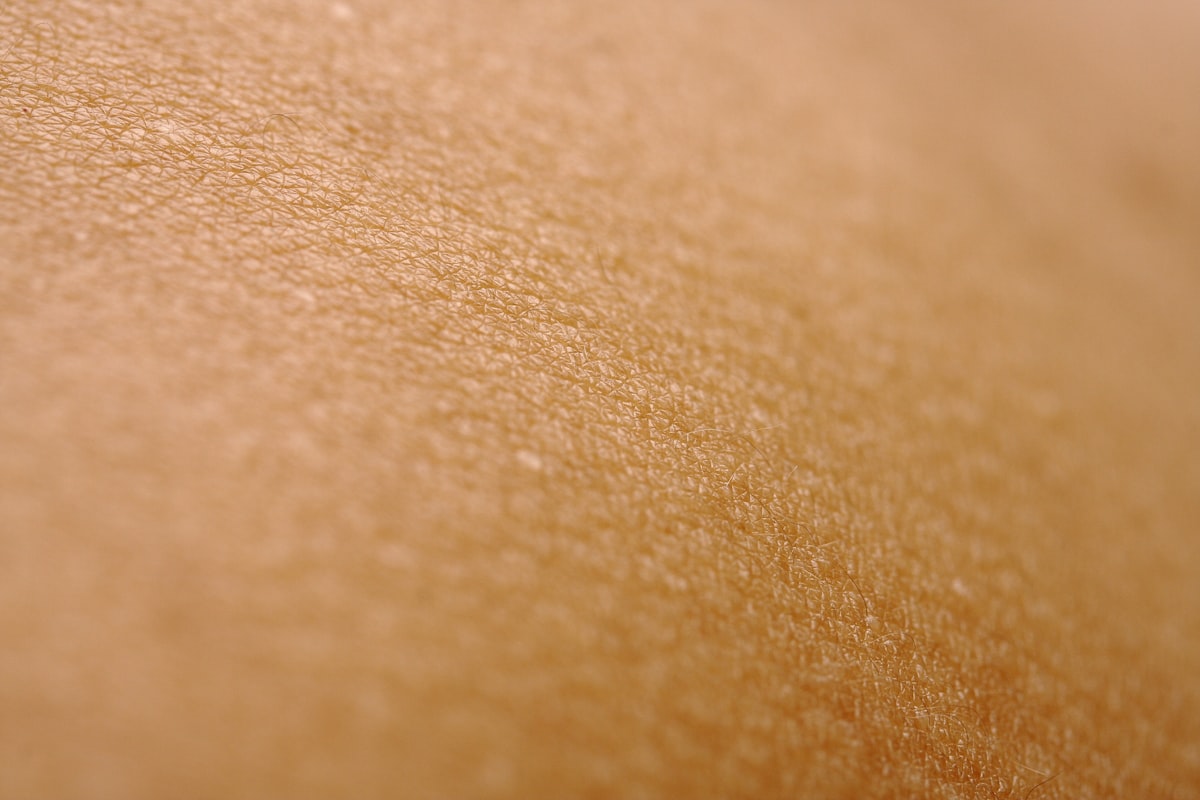
How to Photograph Skin for a Dermatologist: The Five Steps, and the Three Shots
A photograph that a clinician can work from is a different object from the one you would take to show a friend, and the difference is mostly procedure rather than equipment. The American Academy of Dermatology publishes the procedure, and the parts people get wrong are the filters, the direction of the light, and taking one picture where three are needed.
Three jobs are being asked of these photographs. In the AAD's list, good pictures of skin or nails help a dermatologist Examine your concern during a telemedicine appointment, See how a rash, growth on your skin, or other concern is changing, and Determine how well your treatment is working.
What to do before you photograph skin for a dermatologist
The first step happens before the camera comes out, and it has a trap in it.
Start by clearing the area: Remove any makeup or nail polish that you've applied to the area you want your dermatologist to examine.
The trap is that removing it can itself change what the photograph shows. The AAD's instruction is to wait rather than to proceed: Sometimes, removing makeup or nail polish irritates the skin. If your skin looks irritated afterward, let the discoloration or other signs of irritation disappear before you take pictures.
How you remove it matters for the same reason. The AAD asks for a gentle makeup remover or cool water and a gentle cleanser, and names what to avoid with a stated consequence: Hot water, soap, or fragrance may cause inflammation, which can hide the condition you want your dermatologist to examine.
Inflammation that hides the thing you are photographing is the failure mode worth remembering. It is also why a hot shower an hour before is a bad idea, and why this is not the day to try a new product.
Best lighting for skin photos
Light is doing more work here than the camera is, because it determines whether the color in the photograph is the color on your skin.
The AAD ranks the sources. First choice is Natural, bright light, such as that coming in through a window, which it says works best. Where that is unavailable, it accepts A light source like a desk lamp, book light, or flashlight.
Then the rule people break without noticing: Light that shines on the area you want to photograph. The light shouldn't come from behind you.
Standing with a window behind you feels like using the best light in the room. It puts your face in shadow. Turn around.
Why do my skin photos look different from what I see? Usually this, plus its two relatives. The AAD's stated reason for caring about light at all is diagnostic rather than aesthetic: good lighting lets your dermatologist see the exact color and texture of your skin or nails, and it adds that seeing both is essential for an accurate diagnosis, for noticing change, and for telling whether treatment is working.
Background, and reaching the area
Two practical constraints, both easy to satisfy and both easy to skip.
A neutral, one-color background. The AAD gives the reason in terms of the camera as well as the clinician: this background usually makes it easier for the camera to take clear pictures and easier for a dermatologist to see the area in question. Its instruction on what must not be in frame is blunt: Make sure that you don't see any people, animals, or objects in the background.
In practice that means standing in front of a plain wall or door, or resting the limb on a solid-colored towel, tablecloth or bed sheet.
Getting the shot at all. For a back, a scalp or the sole of a foot, the AAD's suggestions are to ask a partner, friend or relative, or to use a selfie stick or the timer on your camera, with the caution that the timer needs enough seconds for you to get into position.
Camera settings, which is one setting
The instruction is short enough to quote whole: Open your camera app and make sure that all your camera filters are turned off (disabled).
Filters change color and smooth texture. Color and texture are the two things the photograph exists to transmit.
After that, focus and framing: bring the skin (or nail) that you want to photograph into focus and Position the area you want your dermatologist to see in the center of the screen. The AAD gives a test for whether you have it: When you see crisp detail and no blurring, you know the picture is in focus, and What you see on the screen should clearly show what you see without the camera.
The three shots
This is the step most people skip entirely, and it is the one that changes how much a dermatologist can do with what you send. The instruction is to Take three photos of your concern, each from a different perspective, all on the neutral background and in good light. The AAD adds that it is best to take more than one picture of each type.
Orientation shot. Where the thing is on your body. In the AAD's words, this shot lets your dermatologist see where the concern appears on your body, using the example of photographing the whole face to place a mole on a cheek.
Comparison shot. The concern next to normal skin. This one lets your dermatologist see both your concern and unaffected skin around that concern, and the AAD sets a resolution bar for it: In this picture, you should be able to see details like pores and body hairs.
Closeup shot. The detail. Close enough that fine lines are visible, and with one addition that solves a problem photographs are otherwise bad at: it can be helpful to show your dermatologist the size of a spot or rash by placing a coin, pencil eraser, or ruler next to it. One condition attached: Make sure that the coin, pencil eraser, or ruler doesn't cover up part of your spot or rash.
A photograph has no scale of its own. A coin gives it one, and it costs nothing.
How to take pictures of a mole follows the same three, and the orientation shot matters more than usual there, because location and distribution are part of what a clinician reads.
Check before you send, and how to send
The AAD sets three conditions, and says to send only photographs meeting all of them.
In focus, with nothing blurry.
Free of shadows, glare and harsh lighting, because these can hide the details that your dermatologist needs to see. Its practical fix is the window again: shooting near bright light that falls directly on the skin is named as one of the best ways to eliminate shadows.
Well-lit and true to what you see, which the AAD defines as seeing the same colors and textures in the photo that you see on your skin or nail.
Those three are effectively the teledermatology photo requirements a remote consultation runs on, and a set that fails them wastes the appointment rather than merely disappointing.
On sending, the AAD's advice is to ask rather than to assume: Contact your dermatologist's office to find out how to send the photos, because The photos that you've taken contain medical information that you want to keep secure. Different offices use different channels, and the one you already have open is not necessarily the protected one.
How often should I photograph my skin?
There is no general answer, and the AAD declines to give one. Its position is that skin conditions differ between people and that you need to ask your dermatologist how often to take pictures.
For the separate purpose of judging whether a product is doing anything, the useful interval is set by how slowly skin changes rather than by a clinician, and how long skincare takes to work collects those windows. The method there is the same one that makes clinical photographs comparable: same light, same distance, same time of day.
FAQ
How do I take pictures of a mole for a dermatologist? Three shots: one showing where it is on your body, one showing it beside unaffected skin, and one close enough to see fine detail. Filters off, light falling on the mole rather than coming from behind you, plain background.
What is the best lighting for skin photos? Bright natural light through a window, with the light falling on the area being photographed. A desk lamp, book light or flashlight is the fallback. The light should not be behind you.
Should I use a flash? The AAD's guidance is built around bright light falling on the area and photographs free of glare and harsh lighting. A direct flash tends to produce exactly the glare that hides detail, so window light is the safer default.
Why do my skin photos look different from what I see? Most often filters, shadows or glare. The stated bar is that the photo should show the same colors and textures you see on your skin, and the AAD asks specifically that filters be disabled.
Do I need a ruler in the photo? Not required, but the AAD names a coin, pencil eraser or ruler as a way to show size in the closeup, provided it does not cover any part of the spot or rash.
How often should I photograph my skin? Ask your dermatologist. The AAD says the right interval depends on the condition and on you, so there is no published number to follow.
How do I send the photos? Contact the office and use whatever channel they specify. These are medical images, and the office will have a method for keeping them secure.
Where photographing skin for a dermatologist stops working
Photographs extend what a clinician can do remotely. They do not convert every question into one that can be answered remotely, and the difference matters most for the thing people most want a quick answer about.
A phone reproduces color and texture. It does not reproduce a dermatoscope, magnification, or the ability to look at a lesion from several angles under controlled light, and when to see a dermatologist sets out which findings need that. On the hardest category, DermNet notes plainly that Some melanomas are extremely difficult to recognise clinically even for clinicians with a dermatoscope in hand.
So the honest use of these five steps is to make a remote consultation work for the things it suits, and to make an in-person visit more productive for the things it does not. A good photograph of a changing mole is worth taking. It is worth taking on the way to an appointment rather than instead of one.
A service that cannot accept photographs at all is one the AAD says to replace, which is one of five checks in online dermatology vs in person.
The same makeup and nail polish rule applies in the examination room, for the same reason, alongside a short list of things worth writing down first: how to prepare for a dermatologist appointment covers the visit itself.
For sorting which of your own findings belong in which category, the thresholds are set out here, and for the small facial bumps that send most people looking for a camera in the first place, tiny bumps on the forehead sorts four look-alikes by touch before any photograph is needed.